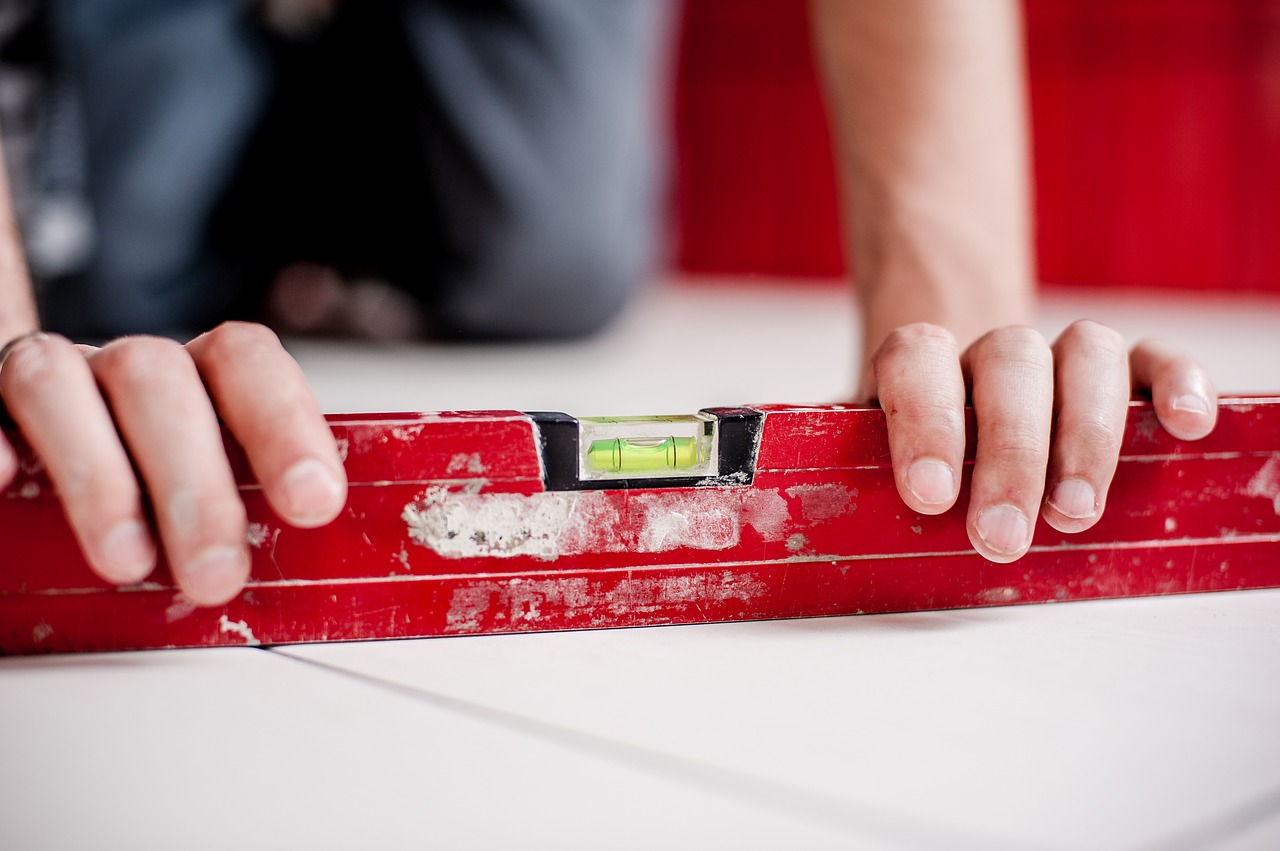
When tiling a wall or floor, it is important that the surface is even to allow you to create a completely straight finish with no warps or lippage. However, it’s quite common for walls and floors to be uneven, meaning that tiles can appear to be distorted or laid at an angle, or some tiles stick out from the wall more than others. In the case of uneven surfaces, they will need to be prepared, prior to fitting the tiles, in order to create a perfectly even tiled floor or wall. But how do you do this? So, we’ve created a quick guide on preparing an uneven surface for tiling to help you achieve the perfect wall or floor.
Table of contents:
- Preparing an uneven wall surface for tiling
- Preparing an uneven floor surface for tiling
- Can you tile over tile?
Preparing an uneven wall surface
Plastering
One of the best ways to ensure the surface of a wall is even is to plaster it. Plastering a wall can be a super straightforward task, but if you have no prior plastering experience it may be worthwhile getting a professional in to help – achieving a perfectly flat surface for tiling is essential and this isn’t always easy on your first attempt.
Preparing an uneven floor surface
When preparing an uneven floor surface for tiling, there are a number of different options available. Floor levelling compound is a great choice for when the surface of the floor is full of dips and ridges, whilst other solutions when the surface is slightly less uneven but still needs tending to can be to back butter the tiles, beat in the tiles, or even to use mosaic tiles.
a) Floor Levelling Compound
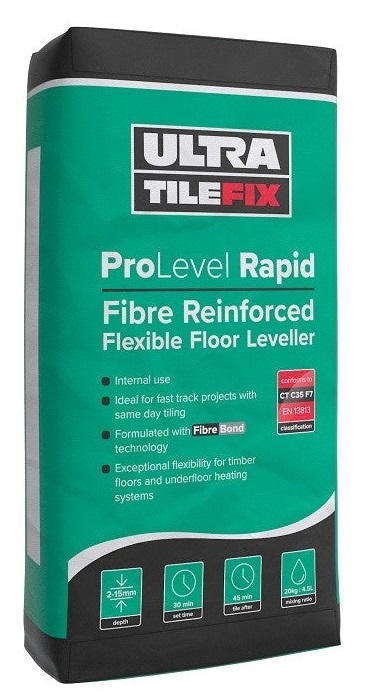
When working on an uneven floor, a floor levelling compound is a simple and effective solution to creating an even floor surface. Floor levelling compounds are mixtures that are used to fill in dips in floors, smooth uneven concrete floors, or make a floor less slanted.
To apply a self-levelling compound, first, ensure that the floor is stable and structurally secure – this is most relevant in wooden flooring as wooden subfloors that move underfoot will break when a self-levelling compound is applied.
If the floor is structurally secure, the next step is to remove any dust and debris from the floor – this can prevent the primer from applying properly.
Next, apply the primer which will act as a bonding material for the compound – use a brush to apply one or two coats.
Once the primer is completely dry, follow the manufacturer’s instructions to apply the self-levelling compound – remember to wear gloves and avoid breathing in the dust, and work quickly – the whole process should take less than 20 minutes because the compound starts to set relatively quickly. We’d recommend using a drywall tool or a leveller to ensure that the compound is spread evenly.
b) Beating in
One technique used when the surface of the wall or floor is only slightly uneven is known as beating in. This involves creating a thicker mortar bed than normal, and then after laying the tiles, place a flat board over the tiles. Beat the board with a rubber mallet to drive the tiles into the mortar bed, focusing on those that stick out more than others.
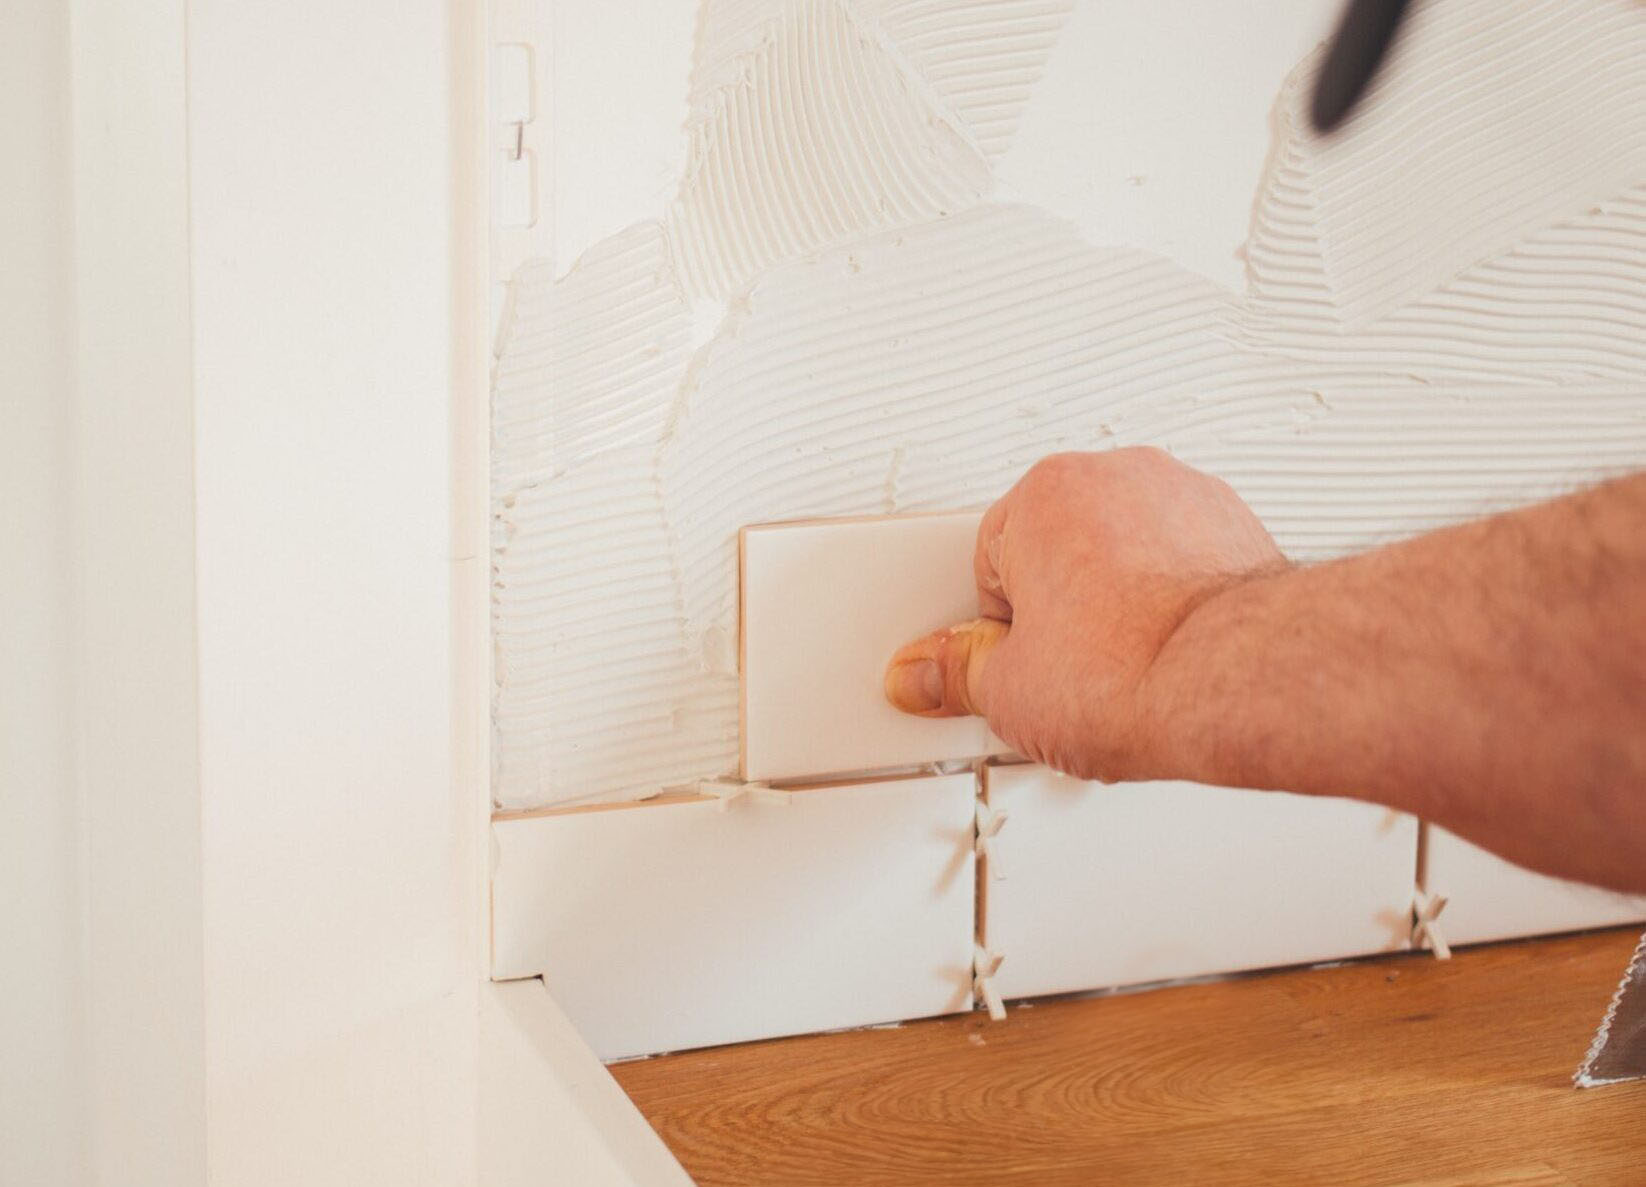
c) Back Buttering
Back buttering is a common solution to tiling uneven walls and floors, or using tiles of varying thicknesses. It simply involves applying mortar as normal to the substrate, but then also applying mortar to the back of the tiles. Extra mortar is applied to areas that need it – either areas with dips in, or areas with thinner tiles. This will even out the surface, creating a perfectly flat tiled surface.
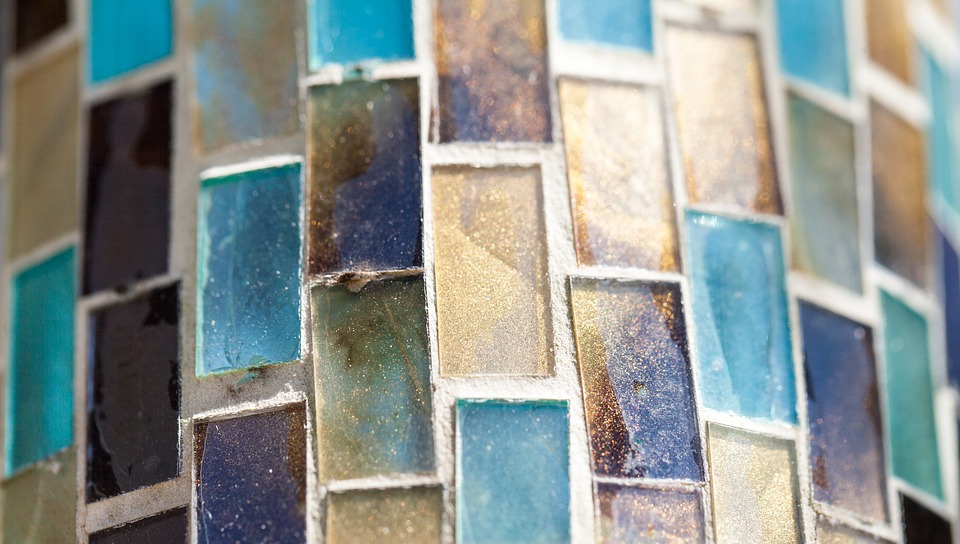
d) Use Mosaic tiles
If you’re tiling a really uneven surface, sometimes the best solution is to opt for mosaic tiling. This involves using much smaller pieces of tiles of various shapes to create a well-covered wall that minimises the effects of an uneven surface. Large format tiles have no bend or flexibility, but broken-up pieces and small format tiles can be installed over the uneven surface without any tiles suffering from lipping.
Can you tile over tile?
The answer is yes, you can tile over tile. It can be a good choice if you want a quicker and more affordable solution. You won’t have to remove old tiles, which saves you time and effort, and you can prevent any damage to the substrate they’re adhered to during removal. Likewise, if the original substrate is uneven, existing tiles can provide a good surface for laying.
However, while possible, it might not be the best idea. You run the risk of adding extra thickness and weight, which can create an unflattering finish and put the substrate under additional strain, especially for wall applications. Extra thickness can make it tricky to cut around fittings, windows and doorframes, and extra weight can pull the plaster away and cause new damage.
If tiles are cracked, lifting or missing grout, the tiled surface won’t be secure enough to withstand another set of tiles. This can cause them to fall and break. If you want to test the existing tiles, tap on them gently – you should replace them if they sound hollow, as this means the bond is no longer secure. Make sure to thoroughly test any wet areas because they’re more prone to these kinds of issues.
If you decide to tile over tile, ensure you clean your existing tiles well with a suitable degreaser or sugar soap. Any grease and contaminants that prevent a strong bond should be wiped clean, and surfaces should be as smooth as possible, free of stray grout or cement. It is also encouraged to figure out what weight the original substrate withstands and the weight of the existing tiles, grout and adhesives. You can use this to calculate what new tiles, grout and adhesive you can use within the remaining weight limit. If the new tiles you have your heart set on are too heavy, it’s probably best to remove the existing tiles and start from scratch.

Was this guide useful?
Mentioned in this project guide:


