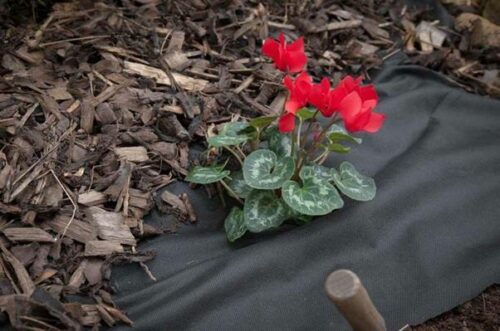
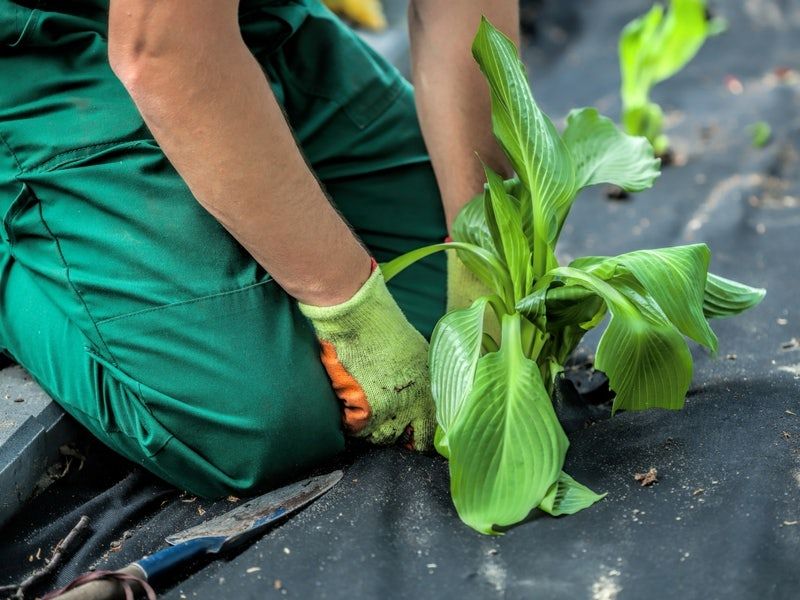
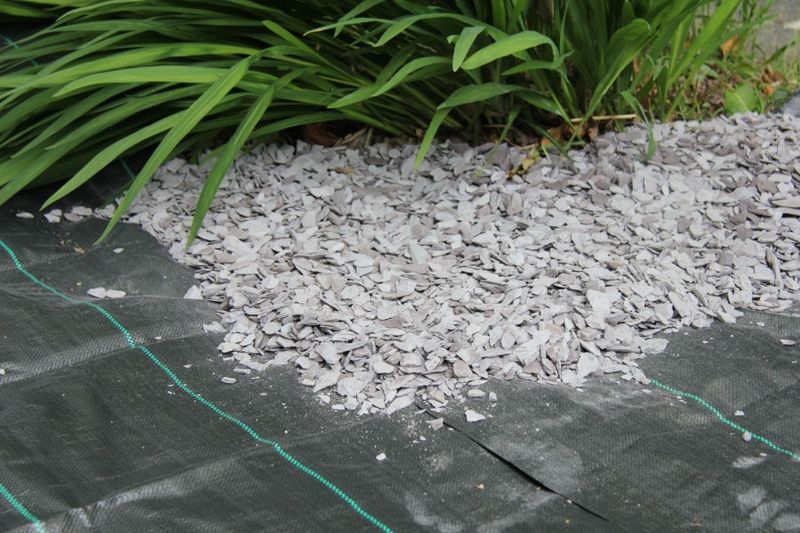
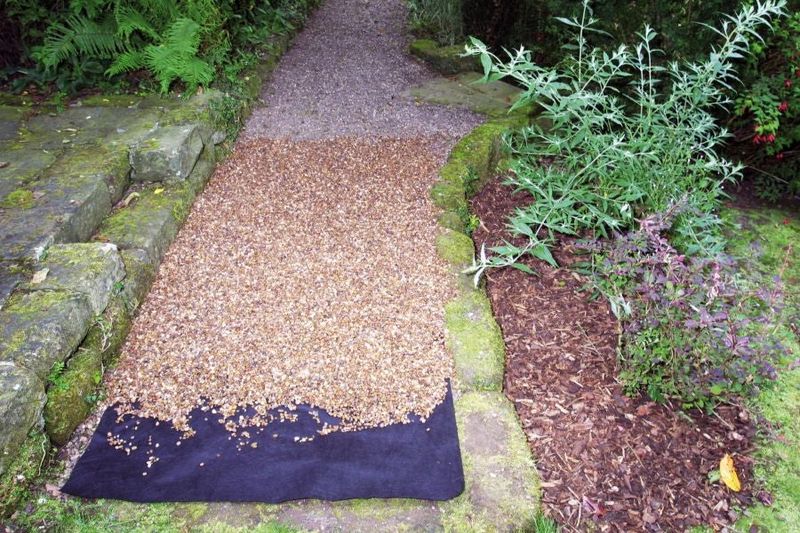
Whether you’re embarking on a landscaping project or fortifying your garden against erosion, the invisible heroes of stability – geotextiles and membranes – stand ready to transform your outdoor space. These unassuming layers play a pivotal role in preserving soil integrity, controlling moisture and reinforcing structures, all while remaining hidden beneath the surface.
You might have wondered about purchasing landscape fabric or geotextile membrane for your garden. Well, you’re in the right place if you want to ensure you’re measuring correctly! Thanks to this handy guide, we can show you how to measure and calculate your geotextiles and membranes without the need for a fabric calculator.
Table of contents
- How do you calculate geotextile or membranes?
- How much overlap for geotextile fabric or membranes do I need?
- Final thoughts
How do you calculate geotextile or membranes?
Accurate measurements are essential for a successful project. We’re sure you’ll want your invisible guardians (gard-i-ens? See what we did there?) to perform flawlessly. So, let’s break down the process step by step to make it easy for you:
Step One: Break it down
If your project involves irregular shapes or complex layouts, simplify the process by dividing the area into smaller, manageable sections. This could be as straightforward as breaking a space into rectangles, triangles or circles, each of which can be measured more precisely.
Step Two: The right tools
Equip yourself with the appropriate tools for the job. A trusty tape measure is always useful, but for longer distances or intricate spaces, a measuring wheel or even a digital measuring tool can offer greater precision.
Step Three: Measure the length and width
For rectangular or square areas, measure the length and width of each section. Multiply these two dimensions to get the area in square metres. If you’re dealing with triangles or other geometric shapes, apply the relevant formulas (for example, halve the base height for triangles by multiplying it by 0.5).
Step Four: Circular areas
To measure circular spaces, find the radius (half of the diameter) and then use the formula π x (radius)² to calculate the area. (π/pi is equivalent to approximately 3.14)
Step Five: Add them up
If you’re working with multiple sections, calculate the area for each one and then add them together to get the total area to be covered.
Step Six: Material coverage rate
Different materials have varying coverage rates. Check the product specifications provided by the manufacturer to determine the square metre coverage per roll. You can calculate this by multiplying the length by the width.
Step Seven: Calculate the quantity
Divide the total area from step five by the material coverage rate in step six to find out how many rolls or units of the geotextile or membrane you need. Remember to round up to ensure you have enough material.
Step Eight: Overlapping margins
Don’t forget to account for overlapping margins. You might need to include extra material to ensure proper coverage and installation.
Step Nine: Accounting for variations
If your project involves sloped surfaces, consider the increase in area due to the angle of the slope. This can significantly affect the amount of material required.
If your project involves variations in thickness or depth, adjust your calculation to account for these differences. Thicker materials or deeper installations will require more material to adequately cover the area.
Step Ten: Margin of error
When calculating quantity, it’s wise to include a buffer for potential errors or future repairs. Adding an extra 5-10% to your calculated quantity accounts for this and provides peace of mind.
Step Eleven: Check manufacturer guidelines
Always cross-reference your calculations with the manufacturer’s recommendations for installation and material quantity. They may provide specific guidelines that are crucial for the success of your project.
How much overlap for geotextile fabric or membranes do I need?
When installing geotextile fabric or membranes, proper overlaps ensure a robust and continuous barrier that stands strong against the elements and environmental challenges. Yet, you’re probably wondering, how much overlap is enough? Let’s delve into this crucial consideration to ensure your project is fortified with the right amount of coverage.
Material type matters
Different types of geotextile fabric and membranes have specific overlap requirements, often outlined by the manufacturer. These guidelines consider the material’s tensile strength, intended applications and the installation method. Always consult the product specifications to determine the recommended overlap.
Common overlap standards
As a general guideline, geotextiles require between a 300mm and 1000mm overlap for optimal performance, depending on the subgrade strength.
Soil conditions and load
The nature of the soil, the expected load or stress on the material and the potential for movement play a role in determining the appropriate overlap. In areas with higher traffic loads or greater soil movement, increasing the overlap is advisable. Firm, level soil is generally suited to smaller overlaps, such as 300mm, while softer, uneven soil may require larger overlaps, such as 1000mm.
In simple terms, the softer and more uneven the surface, the more overlap you’ll need, while the harder, more level surfaces require less overlap.
Slopes and erosion control
On slopes or areas prone to erosion, a larger overlap may be necessary to ensure seamless coverage and stability. If you’re uncertain, consult with experts to determine the specific overlap required based on the angle of the slope.
Installation method
The method you use to secure the geotextile fabric or membrane influences the required overlap. If using sewing, pins, staples or other fasteners, consider their spacing and the potential for movement when determining the overlap.
Laying considerations
If your project involves multiple layers of geotextile fabric or membranes, ensure the overlaps between layers do not align. Staggering the overlaps prevents potential weak points in the barrier.
Climate and moisture
In areas with high moisture levels, such as wetlands or near bodies of water, a larger overlap is necessary to prevent water infiltration through potential gaps.
Manufacturer’s recommendations
Always refer to the manufacturer’s guidelines for overlap. These recommendations are based on extensive testing and are tailored to the specific characteristics of the material.
Final thoughts
Accurately measuring and calculating for geotextiles and membranes is essential to the success of your landscaping project. By breaking down the process into manageable steps, using appropriate tools and considering factors like shape and material coverage rates, you can determine the quantity needed with confidence. Overlapping margins, influenced by soil conditions, load, slopes and installation methods, ensure robust protection. Don’t forget to consult manufacturer guidelines and recommendations for overlap to guarantee optimal performance.

You’ll be effectively transforming your outdoor space in no time! You might not be able to see them once the installation is complete, but you’ll have peace of mind knowing that beneath the invisible transformation lies a meticulously engineered foundation.

Was this guide useful?
Mentioned in this project guide:


